
49
Laser Marking Software Is Fast and EasyTo Use
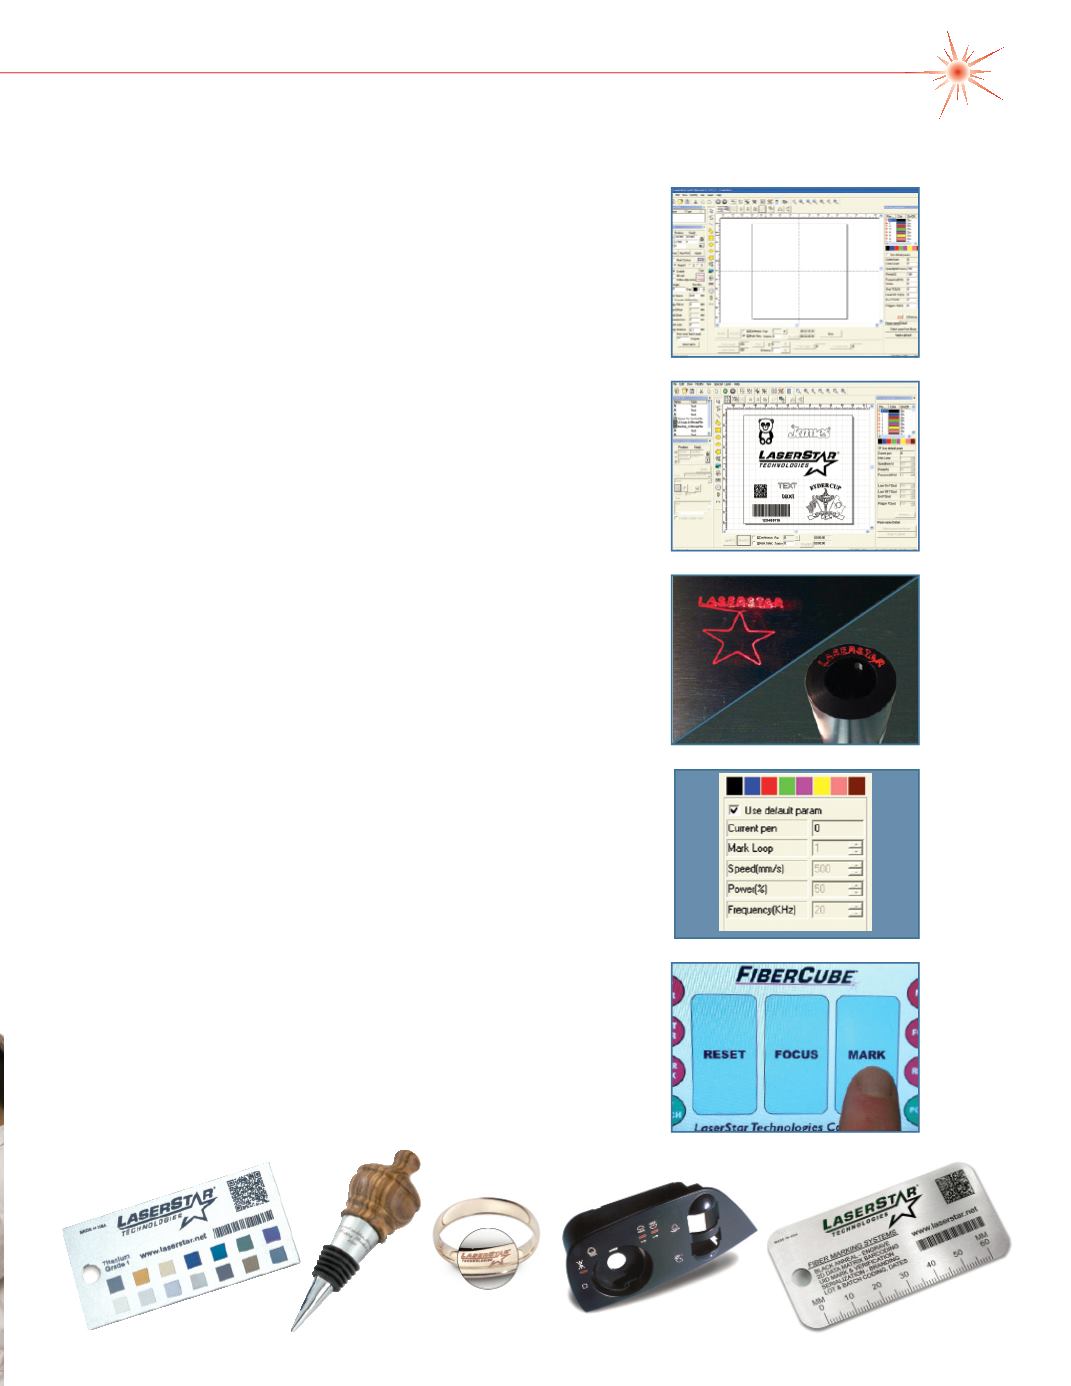
1. Create a New File
Setting up a new file page in LaserStar’s marking software is
easy. Simply open a new file in our Windows
®
based software.
LaserStar’s software makes it easy to import a variety of image
and graphic file formats, benefit from a vast library of True Type
fonts, and customized fill patterns directly on the screen.
2. Image, Graphics,Text Layout
Select the images or graphics needed and import them into the
layout template. Add text, titles, headers and other descriptive
phrases to complete your objective. Themes can be easily
combined to create a finished layout.
3. Set UpThe Marking Field
Turn the red focus diodes “ON” to bring your marking surface
into position. Next, the layout profile feature assists in scaling
and positioning your layout onto the marking surface.
4. Select the Power Settings
Individually identify or group your marking layout with the
software parameter (power and speed) settings to produce the
desired marking/engraving results. A wide range of customizable
parameters are available to optimize material types, fill or hatch
patterns, texturing, and radius surfaces.
5. Start Marking
Once the above steps are completed, simply press MARK and
your new layout will be laser marked/engraved in seconds. The
process is clean and quick!


