DENTAL LAB LASER WELDING: IMPLANTS
admin2024-05-16T17:08:24-04:00DENTAL LAB LASER WELDING: IMPLANTS
Tips for Laser Welding Implants - Direct Welding
When welding an implant connector, the following steps and tips are recommended.
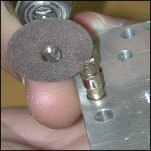
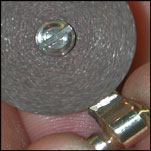
Separate the Connector with a Thin Disk
When separating an implant connector, use the thinnest disc available. This will remove the least amount of metal and enable the connection to touch once it’s back on the die.
Prep the Connector
Remove any burs left over from the separating process to give the connectors a clean, flush fit.
If the connectors do not touch when the implant is on the model, use either the Capping or Insert Method.
Use Proper Joint Preparation
First, determine the alloy and gauge of the connector to be welded. Is the connector thick or thin? Select the proper joining method and prepare the connection accordingly. Make sure the joint is flush and is touching.
Keyhole Weld
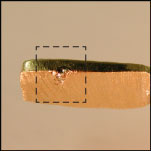
A Keyhole Weld is a deep core penetrating weld that will hold the parts together. A proper Keyhole Weld will penetrate at least halfway into the gauge of the parts to be welded.
Surface Weld
Thin plates need less penetration, thus, a Surface Weld is recommended.
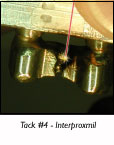
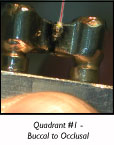
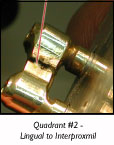
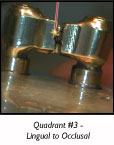
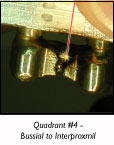
Quadrant Tacking
Metal contracts and expands during the welding process. For this reason, we must tack the connector in diametrically opposed quadrants.
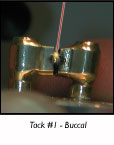
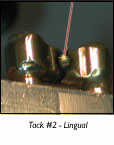
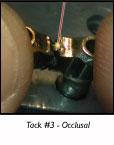
With the implant secured to the die, follow the Quadrant Tacking diagram. The quadrants are to be tacked as follows:
Quadrant Welding
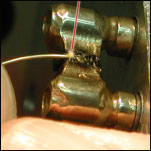
To maintain equal, consistent heating, and equal metal displacement of the structure, we must weld the connector in Diametrically Opposed Quadrants. This procedure prevents distortion of the metal during the welding process.
With the implant secured to the die, use the overlapping welds technique.
Following the diagram, the quadrants are to be welded as follows:
NOTE: The implant may be removed from the die to weld the area closest to the interproxmil.
Add Metal if Needed
If the original diameter of the connector was reduced by a joint preparation technique or by the keyhole weld itself, metal of the same alloy can be added. Filler materials should also be added by using the Quadrant Welding, Diametrically Opposed welds diagram previously discussed.
NOTE: Small connectors can be Keyhole Welded while adding wire during the same pass. This allows for less laser passes.
Grind if Needed
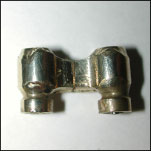
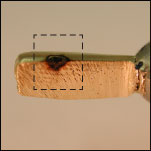
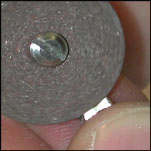
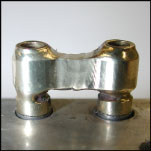
Using a grinding wheel, grind off any excess metal. A sample of a finished welded implant connection is above.

