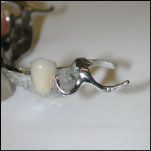
DENTAL LAB LASER WELDING: REPAIRING A CLASP
admin2024-05-16T17:00:45-04:00DENTAL LAB LASER WELDING: REPAIRING A CLASP
Repairing a Broken Clasp - Partial Dentures
Note: Most partial dentures are Cobalt/Chrome Co/Cr or Nickel/Chrome NC/CR alloy. The laser’s energy excites the carbon in the weld zone and can make the alloy brittle. For this reason, we will weld these alloys and add filler wire at the same time. LaserStar welding wire is a carbon-free alloy. When these high carbon alloys are welded with the carbon-free welding wire, a new low-carbon alloy is born thus resulting in a strong weld.
Prepping the Clasp:
If the clasp broke off cleanly, the clasp will fit against the partial like a puzzle. If the clasp does not fit properly, grind each side of the break so the clasp fits flush together.
Placement of the Clasp:
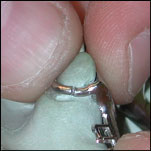
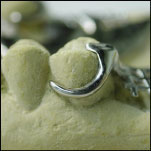
Set the partial in the model and align the break of the clasp. Hold the clasp in place with your fingers. A small amount of putty or wax can be used to hold the clasp against the model.
Setting the Laser Welder and Tacking the Clasp in Place
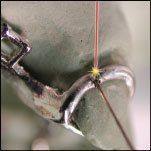
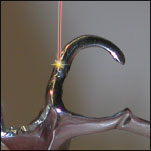
Set the LaserStar laser welder on the CLASP REPAIR setting. The setting may need to be adjusted based on the gauge. Tack the clasp into place, usually only one laser pulse is needed to hold the clasp in place.
Running a Bead:
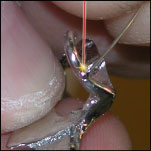
At this time, the partial denture can be removed from the model. Holding the appropriate LaserStar filler in place, run a welding bead around the clasp.
Hammering and Smoothing:
It is now necessary to increase the Beam Diameter (Ø); this will reduce the depth of the weld resulting in a “Surface weld.” Also increase the Hertz (Hz); this will enable the laser welder to fire more rapidly keeping the metal molten for ease of smoothing. Fire the laser welder moving the item slightly in a back and forth motion. This will “Feather” the metal across the fill zone resulting in a smooth hammering effect.
Note: Keep all hammering and smoothing to a minimum, too many laser pulses in a small area can heat the alloy causing annealing, burning or damage to nearby acrylic.
Adjusting the Clasp
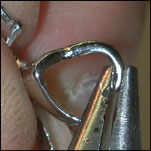
The clasp can now be adjusted with a pair of pliers to fit the model.
Clean Up
Clean up the area by grinding, filing or using a rubber wheel. Then clean accordingly.
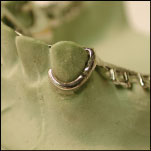
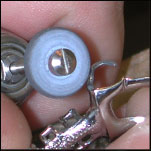
Examples of Clasp Repair using the LaserStar are shown above.

