DENTAL LAB LASER WELDING: WELDING NEXT TO ACRYLIC
admin2024-05-16T17:33:21-04:00DENTAL LAB LASER WELDING: WELDING NEXT TO ACRYLIC
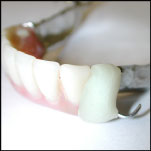
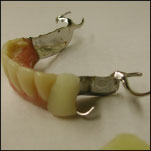
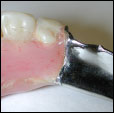
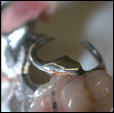
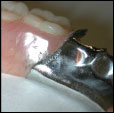
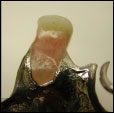
Tips for Laser Welding Next to Acrylic - Partial Dentures
Laser welding can be performed near or next to acrylic successfully if the following techniques are followed.
Protect the Acrylic
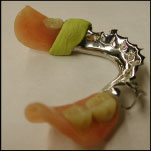
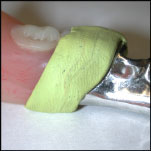
In the event of firing the LaserStar next to or at an angle over the acrylic, unprotected acrylic can scorch, melt or even burn. For this reason, we must first protect the acrylic. Several processes can to be used to protect acrylic.
Bees Wax
Cover the acrylic with a thick coating of Bees Wax. The wax will protect the acrylic as it will dissipate the laser’s energy. The wax is also easily removed with steam heat.
Note: Do NOT use colored waxes; the color in the wax may attract the laser beam.
Poster Tack Putty
Cover the acrylic with a putty commonly used to hang posters. The putty will protect the acrylic, as it will dissipate the laser’s energy. The putty can easily be removed and used again.
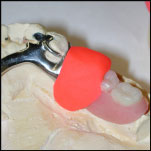
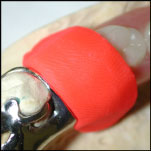
Play-Doh Putty
Cover the acrylic with a play-do type putty. The moisture in the putty will protect the acrylic, as it will dissipate the laser welder’s energy. The putty can easily be removed and used again.
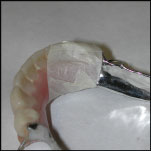
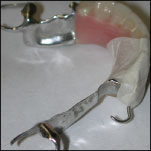
Masking Tape
One or more layers of masking tape can be used to protect acrylic.
Mind the Hertz and Milliseconds
Hertz and milliseconds both equate to heat. Pulsing the laser with high frequency and high milliseconds may heat the surrounding metal too quickly causing heat transfer to affect the acrylic.
Tip: For best results, Keyhole Welds should be performed at a frequency of 0 to 5 Hertz. Adding material or hammering and smoothing should be performed at 5 Hertz with a lowered millisecond.
Use Burst Mode
Burst mode can be used to control the amount of heat applied to the working area by limiting the number of pulses delivered.
Use Your Sense of Touch
Use your fingers as a heat gauge. If the parts feel hot to the touch, allow them to cool before continuing.

