DENTAL LAB LASER WELDING: EXTENDING A MARGIN
Tips for Extending a Margin in the Cervical Area Using Laser Welding

Settings and Placement of Wire
Set the LaserStar laser welder to the proper MARGIN setting in the alloy you wish to extend. If there is no MARGIN setting, the W/WIRE setting is to be used for both adding wire, and extending margins.
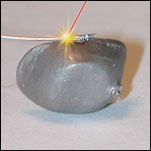
Lay the wire on top overlapping the margin, and extend the wire further than the actual area of the margin you wish to extend.
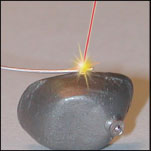
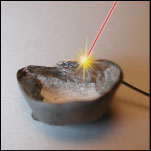
Angle of Attack
Fire the LaserStar laser welder at a shallow angle, 15° or less. The angle of attack should resemble skimming stones on a pond.
The first shot will not be taken at the tip of the wire, firing the laser in too close proximity to a thin margin, may destroy the existing margin. The first shot should be taken one to two millimeters from the tip of the wire. Use the overlapping weld technique to run a Welding Bead.
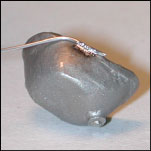
The last shot should also be extended beyond the area you wish to extend. The excess laser welding wire will protect the existing margin.
Before taking the last shot, bend the wire toward the occusial. This will protect or “hide” the existing margin form the lasers energy.
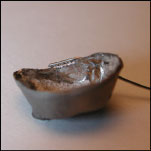
Laser Welding the Opposing Side
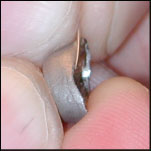
It is now necessary to turn the coping around and laser weld the opposing side.
Once again, using the overlapping welding technique, fire the LaserStar laser welder at an angle from the side of the coping and run another welding bead the same distance as the first. This will homogenize the wire with the coping.
Repeating the Process
Repeat this process as many times as necessary to achieve the desired length.
Clean Up
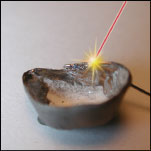
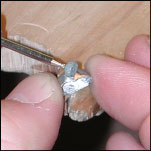
Clean up the area by grinding any excess material, sanding or using a rubber wheel. Then clean or sandblast accordingly.
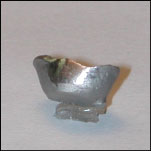
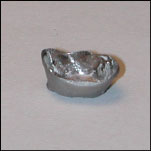
Examples of a finished extended margin.